What counts as "silence" in a recording?
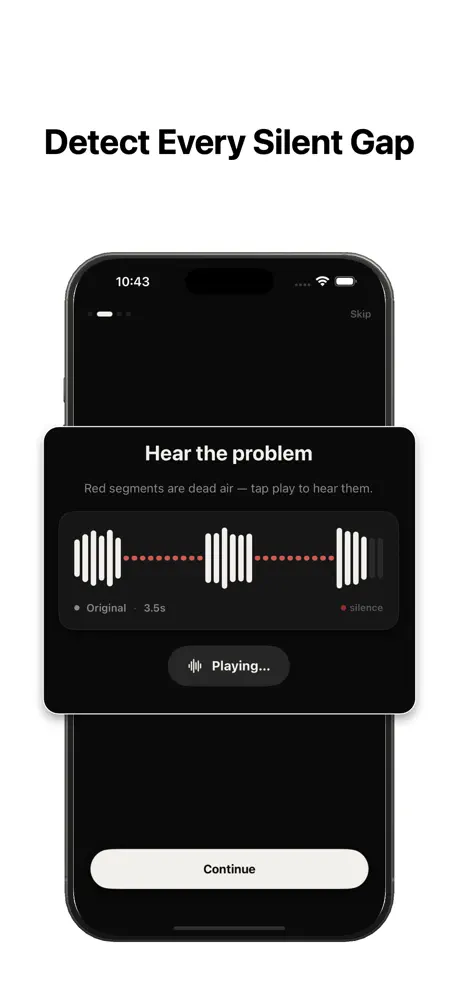
Silence is any stretch of audio that falls below a volume threshold for longer than a set duration. In speech, that means the gaps between sentences, the pause while you think, and the moment before you answer a question. None of it carries information, but all of it adds length.
A silence remover works by scanning the waveform, marking every segment that drops below your chosen loudness level for at least a minimum length of time, and removing those segments so the audio plays continuously.
Why remove silence at all?
Tighter pacing keeps listeners engaged. A two-minute clip with the gaps removed feels sharper than the same content stretched to three minutes. For podcasts and videos, that often means higher completion rates.
It also saves storage and upload time, and it makes manual editing far easier because you start from a clean, gap-free timeline.
The fast way: automatic silence detection
Manual editing means dragging a playhead across a waveform, zooming in on each pause, and cutting one gap at a time. For a long recording that is dozens of cuts and a lot of guesswork.
Automatic detection does the same job in one pass. You set three values — the threshold (how quiet counts as silent), the minimum silence length (how long a quiet stretch must be before it is cut), and the padding (how much breathing room to leave around each cut) — and the app removes every matching gap at once.
How much time silence removal actually saves
The saving is not just the length of the gaps you cut — it is the manual work you skip. A ten-minute talking-head recording can easily hide sixty to ninety seconds of dead air spread across a hundred small pauses. Finding and trimming each one by hand is twenty minutes of zooming, scrubbing, and second-guessing. Automatic detection does the same pass in seconds.
The compounding win comes with volume. If you publish weekly, that is roughly fifteen hours a year spent on a task a phone can do while you make coffee — time you get back for writing, recording, or actually editing the parts that matter.
Silence removal vs. filler words: what it does and does not do
A silence remover cuts by loudness and duration, not by meaning. It removes the quiet stretches — the pauses, the dead air, the beat before you answer — because they fall below your threshold for longer than your minimum length. That is exactly what makes speech feel loose.
It does not delete filler words like "um" or "you know," because those are spoken sound above the threshold. If your goal is a tighter, faster listen, silence removal handles ninety percent of it; the occasional filler word is a quick manual trim afterward on an already-clean timeline.
Step by step on iPhone
1. Import your file from Photos, Files, or iCloud Drive. With SilenceRemover nothing is uploaded — processing happens on your device.
2. Adjust the threshold and minimum silence length. Start with the defaults and preview the result.
3. Add a little padding so cuts sound natural rather than clipped.
4. Export the tightened file back to Photos or share it directly. The original quality is preserved.
Getting natural-sounding cuts
The most common mistake is cutting too aggressively. If you set the threshold too high or the minimum length too short, you remove the natural micro-pauses that make speech sound human, and the result feels rushed.
Leave 50–150 milliseconds of padding around each cut, and only remove silences longer than roughly half a second. Preview before exporting and adjust until it sounds like you, only tighter.
Recommended starting settings
There is no single perfect setting — it depends on how you speak and what you are making — but good defaults get you most of the way. For conversational speech, start with the threshold just below your normal talking volume, a minimum silence length of about 0.5 seconds, and 80–120 milliseconds of padding.
From there, change one value at a time. If natural pauses disappear and you sound rushed, raise the minimum silence length. If obvious dead air survives, lower the threshold a little. Two or three previews is usually all it takes to dial it in.
Trim a whole batch, not one file
If you record regularly — a weekly show, a series of lessons, a backlog of voice notes — the real time saving comes from applying the same settings across many files. Find a configuration you like once, then reuse it so every recording gets the same tight, consistent pacing.
Because everything runs on your device, batching does not depend on upload speed or a connection; a long queue of files is limited only by your phone, not a server.